Publishing a Picturebook with Createspace - by Susan Price
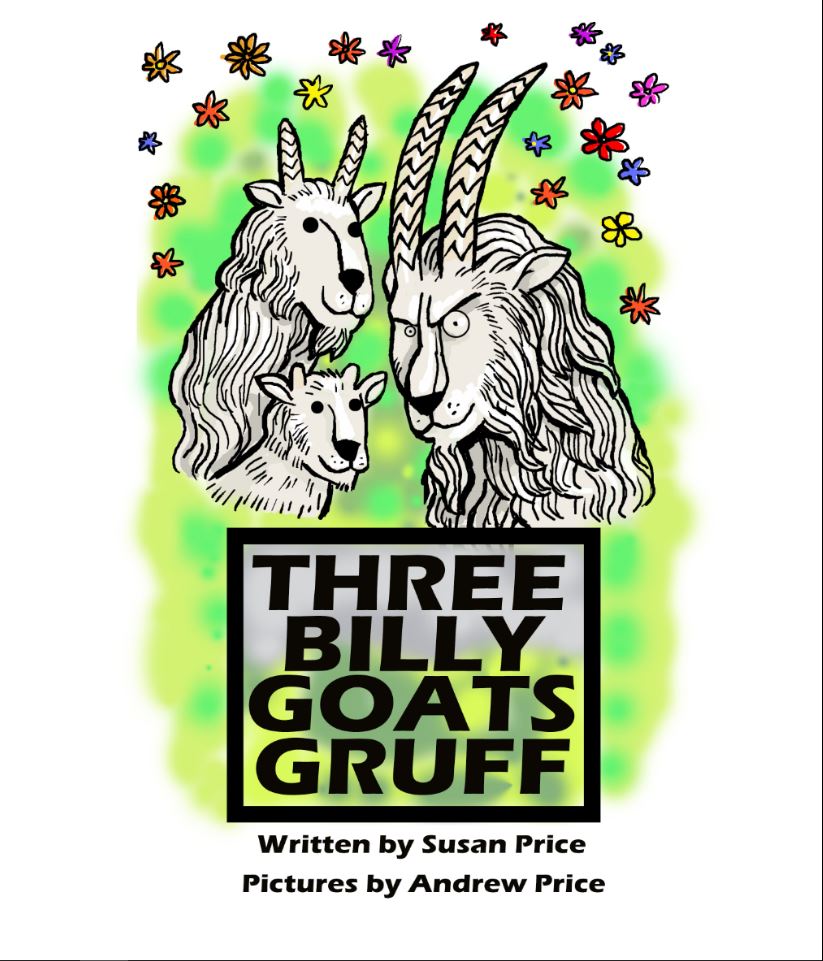 |
| Three Billy Goats Gruff - Susan and Andrew Price |
With apologies for the length, here's what Andrew and I have learned about the process.
 |
| How To...Olsen |
This blog is going to be about Createspace. If you can make it there, you can make it anywhere. After going to the mat with Createspace, producing the Kindle is cake.
But don't let me put you off, if you have a spare picture-book. Lash out a couple of quid on How To Format Your Picturebook For Createspace Without The Frustration and get stuck in. We found Olsen's book invaluable, but worked out a few wrinkles for ourselves too.
Graphics Programme
You will need a graphics programme, such as PhotoShop (which you can now rent annually or monthly) or the free Open Source programme, Gimp. There are others, such as Canva and one recommended by our own Karen Bush, PicMonkey, which struck me as a more intuitive, user-friendly PhotoShop.If you can't use any graphics programme, then bribe, trap, marry or otherwise acquire someone who can. I am lucky in my brothers, Andrew and Adam, who can both use more than one graphics prog. Andrew has gone as far as teaching me the basics.
Before You Even Start...
There are things you have to consider before you even start programming your picture book. For instance, Createspace won't upload any book with fewer than 26 pages, so forget the traditional formula of 24 pages (excluding front and back matter.)This gives more freedom in telling the story, but if you want to republish an existing out of print (OOP) picturebook, you may have to be creative with title-pages, author bios, ads for forthcoming books and so on, to reach the required page number.
Then there's cost. Amazon charges pennies for electronic delivery of ebooks, so cost of production is irrelevant. But Createspace produces an actual paper book which you can drop on the floor with a thump. So costs of materials, storage and delivery apply. Createspace sets a minimal price, which covers the costs of production and their profit. To make a profit for yourself, you must charge above this. The more pages in the book, the higher you will have to set your price.
Createspace Hates Spreads
 |
| Middle-Sized Billy Goat flees the Troll |
One of the great appeals of the picturebook to an illustrator is the opportunity to design lively, story-telling pictures across a double-page spread. But Createspace was designed to automatically publish books for adults, with pages of text to right and left and a central gutter. During the proofing stage, Createspace's digital previewer marks double spreads as mistakes, because they cross the gutter. The challenge is to publish such a book despite Createspace.
What Size?
You need to decide on your book's size. Createspace offers you several, of slightly different proportions. For Three Billy Goats Gruff, Andrew and I chose the largest standard size offered: 11 inches by 8. Amazon always works in inches. In centimetres, this is 27.9 x 20.3.How Do You Get The Book Into The Computer?
You've decided on your lay-out and the number of pages. You've decided the size of your book. But how do you get your picture layouts, text and all, into the computer?
First, in your graphics programme, you will make a background or blank canvas. Your book's pages will be 'inserted' or pasted onto this background. When edited to your satisfaction, you'll save the whole layout as a picture-file. We used the jpeg format, but Createspace will accept others.
BUT, before you know how big to make your 'blank canvas', you have to consider 'bleed' and 'gutter.
Bleed
You're creating a paperback which will be printed on real paper and chopped to size.You need to allow an area at the edges of your pages for 'bleed.' Anything which falls within the bleed may be cut off during the book's production.
Createspace suggests that you allow 0.125 inches to the width and 0.25 inches to the height. So if each of your single pages is 11 x 8 inches, then this has to become 11.25 x 8.125 inches. Olsen suggests that you play safe and make the bleed half an inch, so: 11.5 x 9 inches.
Gutter or Spine Width
Createspace provides a formula for calculating spine width here.In short, for a colour interior, you multiply the number of pages by 0.002347.
Three Billy Goats Gruff had 48 pages, so its spine width was 0.112656. Or, rounded up, 0.113 inches.
When calculating page dimensions, the spine-width is halved as one half is one side of the gutter and the other half on the other.
The dimensions for our left-hand single page, 11 x 8 including bleed and gutter are:
Bleed + Page Width + Bleed + Half-Gutter
0.25 8 0.25 0.06 = 8.56 inches
For the right-hand page, the half-gutter goes on the other side.
For double-page spreads, you double this: 11.5 inches high by 17.12 inches wide.
So, now you've done all your hard sums, can you go ahead and set up your blank canvas?
No.
First you have to supersize.
Supersize
If you want your book to be 11 x 8, you don't make your graphic programme blank canvas that size, not even with added bleed and gutter.Andrew, with his graphics background, made our blank canvas four times bigger: 45 inches high and 34.24 iches wide. (Miraculously, this fits easily inside the computer screen.)
Set the resolution too. Andrew says to make it at least 300 dpi. (Dots per inch: also known as PPI, Pixels Per Inch.) Andrew never works at less than 300 dpi.
Why such huge files? Two reasons, Andrew says. To enable you to create original artwork and to keep your images sharp when reproduced.
"When creating original artwork," Andrew explains, "you need to be able to magnify your image to handle fine detail. If your image is a mere 11 x 8, it will pixellate - break up - and blur as you zoom in close. Make your file 4 to 6 times larger than you need and you'll be able to zoom in close without losing definition."
Then, looking ahead, "What if you want to use your image for a small postcard, or a big poster? An image of 11 x 9 would pixellate and look terrible if we tried to blow it up or shrink it.
"Huge files give you high resolution. Shrinking the images for Kindle or Createspace sheds pixels and losing definition but if you start with a huge file, your image stays sharp."
Guide Lines
When you've made your supersized blank canvas, place guide lines on it, to show you where the bleed areas and gutter will be.The bleed of 0.25 at top and bottom becomes a supersized inch, so the horizontal guides are set one inch from the top of the page, and 42 inches from the top.
The vertical guides are set at an inch from the left-hand edge and 33 inches from the left. You can place guides to show where the gutter is too.
So, now you have your huge blank canvas set up and your guide lines showing you the bleeds. Now you're going to bring your pages into the computer and place them on this blank canvas.
An OOP Book
If your home-scanner has a large bed and is capable of taking high-res copies, then scan your book, page by page, and save the scans as picture files. We saved the scans as jpegs, but you may prefer another format. The pages must lie flat on the scanner-bed to prevent light getting in at the edges and spoiling the scan. You may have to tear your book into separate pages to achieve this.
Create a clearly named folder to hold these picture files, so you can find them easily. Label each image alphabetically. For instance: aGoats01 - bGoats02 - and so on. Back up that folder!
You may prefer to take your book to a high-street printer. They will supply you with high resolution scans on a CD or USB stick.
Once the scans are in your computer as jpegs, you can open them in your graphics programme and drag them onto your supersized blank canvas. You will probably have to resize them.
As you resize each image, save them as huge graphics images (4-6 times the size you need.) Then use the Save As tool to save them as humungous jpegs.
So now you have two copies of each page: one saved as a graphics programme file and one as a jpeg or picture file.
The next step is to make another blank canvas in your graphics programme, this time at your book's actual size. Page by page, copy your humungous jpegs onto this canvas and resize to fit. Because of the original supersize, it will stay sharp.
Put the book-sized jpegs in their own folder. Name them alphabetically and back them up.
(Because these files are so huge, it's best to store them on an external drive or a USB. They will take up an awful lot of space in your computer's memory.)
An Original Book
 |
| A Wacom graphics tablet |
You can make sketches or paintings on paper or board and scan them into your computer, saving them as picture files, such as jpegs. Or you can use a graphics tablet, such as the Wacom Bamboo, to draw directly into your graphics programme. (The tablet gives you far more control than a mouse.)
Or combine the two methods: scan in drawings and then use the tablet to rework them.
Layer It
Take full advantage of your graphic programme's layers by putting every element of your work on different layers.
Think of the layers as a series of transparencies piled on top of one another, just as pre-digital animation used layers of transparent cells
The background was painted on one layer. An important feature, such as a large tree, would be painted on the layer on top of that. A character would be on the next layer up. Because the layers were transparent, the onlooker could see all the elements at once, forming a complete picture. However, details on the upper layers could be changed without altering those underneath.
The layers in graphics programmes work in the same way. Different programmes may call them by different names, but I think most have something similar.
So, put your background drawing on one layer. Put the colour for it on another layer. Name both layers clearly, so you can find the one you want.
The outline drawing of characters each have their own layer. Their colouring goes on other layers.
The text has its own layer. Indeed, each sentence - each word, each letter - can have its own layer, if you wish.
Obviously, these ever multiplying layers can become difficult to manage. So, why bother?
Well, say you want to change the tree from a spring tree in blossom to an autumn tree. But Goldilocks is standing in front of it and you don't want to change her. Well, switch off her layer. She vanishes. You can then work on the tree as much as you like without worrying about Goldilocks.
When you're happy with the tree, turn Goldilocks back on and there she is, in front of the tree, unchanged. If you now want to change the colour of her clothes, you can do that, without changing her outline, if you have the colours on a separate layer.
You can experiment with the text, changing its position, size, colour and font without changing anything else. You can re-use a background or that tree several times, copying them from one canvas to another.
Save And Back Up!
Save your work as graphics files, with all their many layers. Name them alphabetically and put them in a folder of their own. This may seem fussy and boring, but you will be glad you did it.
When you're happy with your pages and want to save them as picture files, first open the saved graphic files and 'flatten' the layers. This amalgamates all the layers into one image.
It also 'embeds' the text as part of the illustration. In effect, your graphics file becomes a photograph of your page: illustration and text become one.
You have to do this before you save them in a picture format and load them up to Createspace but, once flattened, you can no longer make changes to either picture or text.
 |
| While this was in layers in a graphic file, we could change the font, its colour and size. Once layers are 'flattened' it becomes fixed. |
But you will almost certainly have to make further adjustments before you can publish.
This is why it's so important to save your graphics files, with all their layers. When you need to make changes, you can return to these graphics files, make changes and save them as jpegs again.
Once you have flattened your pages, use the Save As tool to save them as jpegs or whatever format you are using. Put them in their own folder, alphabetically.
But these jpegs are huge, at least four times larger than you want them to be. You have to reduce them to the size of your book, plus its bleeds and gutter. So, make a new blank canvas in that size and copy each of your jpegs to it, resizing it to fit. Save the book-sized jpegs in their own folder. Alphabetically.
Keep your supersized jpegs and your layered graphics files. They are your master copies.
Next, loading up to Createspace. You thought we'd never get here.
Faff and More Faff.
We made our book with Microsoft Word. Eventually.When Andrew and I first researched making our book, all the advice was to make a PDF using Adobe Pro, an expensive programme which can create a PDF as well as read one.
We signed up for the 30-day free trial, agreeing that, if it worked for us, we would each sell a kidney and buy it.
Readers, we followed the instructions to the letter. We hopefully loaded our PDFs to Createspace countless times - and saw tiny thumbnails crammed unreadably into one corner.
We read and re-read the best advice from the best people, checked our work, changed dimensions, sacrificed to Odin... Nothing worked. It was a bit frustrating.
While Andrew howled at the moon, I read a bit further into Olsen's book and found a chapter about using Word. Here's how.
Using Word for Createspace Picturebooks
First, create a Word page file at the actual size of your book, plus bleeds and gutter. I refer you to Olsen, who tells you exactly what to do.
We learned for ourselves that it's best to add more blank pages to your Word file than you will actually need before you add any content. It's much easier to insert pictures into empty pages than it is to add a page after you've inserted a picture.
When your blank Word file of 55 or so pages is ready, go through and insert all your book-sized jpegs. Here is where all that patient alphabetical labelling pays off. Instead of hunting through all the thumbnails in the folder, looking for the one you want, they are all neatly in order.
It will be even more useful when you come to make the Kindle version.
Go to Insert Picture and, when the Browse box opens, click on the picture you want. Click Open, and it will appear in your Word file. Use Picture Tools to centre the image. You may have to drag it at the corners to resize it.
Your double-spreads will have to be cropped into single pages as Word will only accept single pages. They may not look as if they join up in Word, but if you have your measurements correct, they will.
The first time we loaded a Word file up to Createspace, it worked! It wasn't perfect, but it was the right size, filling the digital 'book' from edge to edge.
The pages were out of order, and we had to add an extra title page to bump the others along so that the pages meant to form a double spread did so.
We had both our graphics programme and the Createspace previewer open at the same time, and flicked from one to the other, so we could see what elements we had to adjust.
Proofing
You proof-read on Createspace's digital previewer. To make corrections, return to your original graphics files, edit and then save, first as a graphics file, then as a supersized jpeg and finally as a book-sized jpeg. This may seem a lot of unnecessary work, but you need those files. And once you've learned what to do, the saving at different sizes is quick and easy. (Though, admittedly, it will do your head in at first.)When you've made your corrections, load them up to Createspace as an interior file and test again. You can load up your book and check it with the previewer as many times as you like.
You create your cover and load it up separately. (Hey, if you can make a Createspace double-page picture book spread, you can create a cover. Just remember to allow for your bleeds and spine-width.)
'Live Elements' Warning
Finally, when you think you can do no more, you submit for publication. At this point, Createspace will put big red warning triangles all over your book because your 'live elements' stray into the bleed and cross the gutter. This alarms Createspace. It urges you to cease, desist and abandon all hope.
Hold your nerve. If you are satisfied you've done your sums right, and you've put nothing into the bleeds and gutter that you can't bear to see trimmed, then your book will be fine.
With a certain resignation, Createspace supplies a button which allows you to ignore all its warnings and go ahead anyway. And even if you have made a bad mistake, you can still put it right.
This is because you are going to -
Pay For A Proof Copy.
It hurts, but Andrew and I seriously advise you to cough up and pay for a paper proof copy to be sent from America. The on-line previewer, though very good, is not perfect. When our paper copy arrived we saw that there were a couple of lines of text that were painfully close to the page edge, although they'd looked okay on-screen. We were able to return to our master-copies and move them (thanks to the graphic layers.)Andrew spotted places in his art-work where the colour wasn't as smoothly graduated as he wanted it to be. This hadn't shown up as well on screen as it did on the printed page. Again, he was able to return to his master-copies and improve them.
Kindle
After all this, we still hadn't had enough. We made the book into a Kindle ebook too, though it was easier than Createspace. This seems to be selling in America better than the UK.First Attempt
This was our first attempt to produce a fully-fledged, full-bleed picture-book with double page spreads with Createspace and it was a lot of work. But we've learned an enormous amount and are confident that our second book, which is already under way, will be much easier. It's to be The Bremen Town Musicians.Three Billy Goats Gruff by Susan Price. Illustrated by Andrew Price.

Paperback Kindle ebook
UK UK
US US

Using a graphics programme also allowed us to strip out colour and produce a colouring-in book, with closed writing exercises.


Comments
Thanks for the link to the book - I bought it.
Has anyone managed to figure out a way to get Amazon to share payments? I am trying to publish a set of books of short stories written by students in my writing workshops. But there doesn't seem to be any way to share royalties. One person has to be the main recipient, and pay out to the others. This raises tax problems, as well as issues of trust.
(;+#)
Having said that, Amazon are always making improvements and if you keep a close eye, who knows, they may introduce a way for people to produce a book together and share royalties.